Design an Official Seal for Your Own Country!

 
Finished stamp and mark
 

In my book Micronations: Invent Your Own Country and Culture, I show you how to design a country around a theme of your choosing. Micronations are imaginary countries that have a lot of the same things as real ones: laws, customs, history-even their own flags, coins, and postage stamps. The documents, symbols, and other physical artifacts you create tell the world what your country is about.


You can find out more about the book and print out a PDF of this project at the Nomad Press website.

Get your softcover copy from Nomad and shipping is free through April!


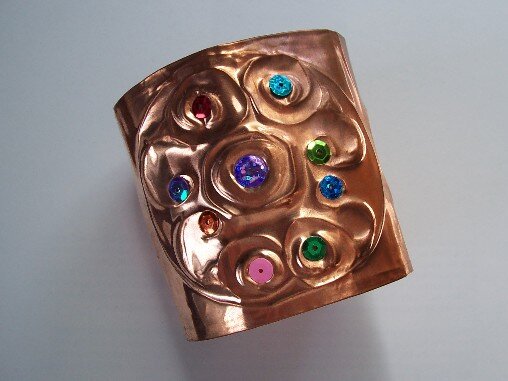
Once you’ve come up with ideas for symbols for your country, you can use them to make your micronation’s official coat of arms and a seal. For example, the Great Seal of the United States shows an eagle holding arrows symbolizing war in one claw and an olive branch symbolizing peace in the other.

Seals were originally designs pressed into a soft piece of wax with a mold. A seal put on a document shows that a person or government official has approved it. Today seals are usually stamped on with an inkpad or pressed into a piece of paper with a special tool so that it leaves a raised mark. This project makes a rubbery stamp for putting an inked seal on important documents.
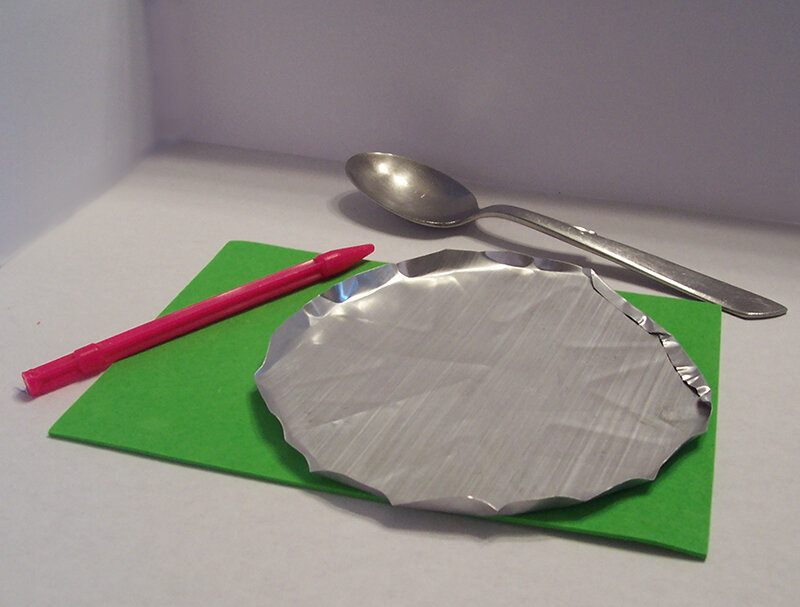
Materials

Materials
  • paper and pencil

  • marker

  • craft foam

  • scissors

  • glue

  • piece of cardboard, flip flop, or blocks of wood small enough to fit in your hand

  • inkpad, or paint on a disposable plate


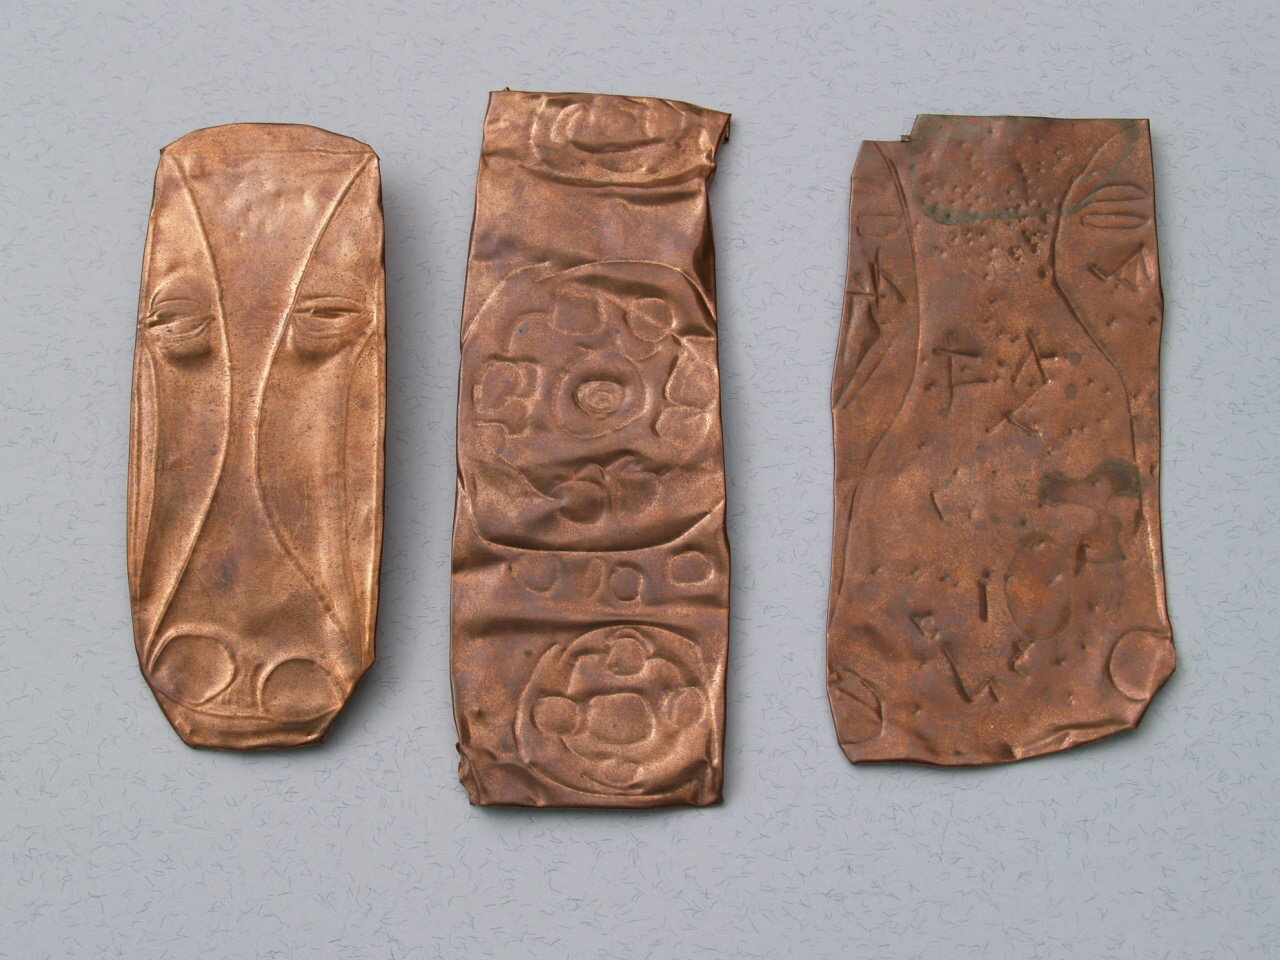
  1. Start by sketching out your micronation’s coat of arms. First draw the outside border of your design. Make it thick like the frame on a painting. It can be a circle, a shield, or any shape you like. Then choose some of your micronation’s symbols and arrange them inside the border. Keep the symbols simple, and make sure they don’t touch each other or the outside border.

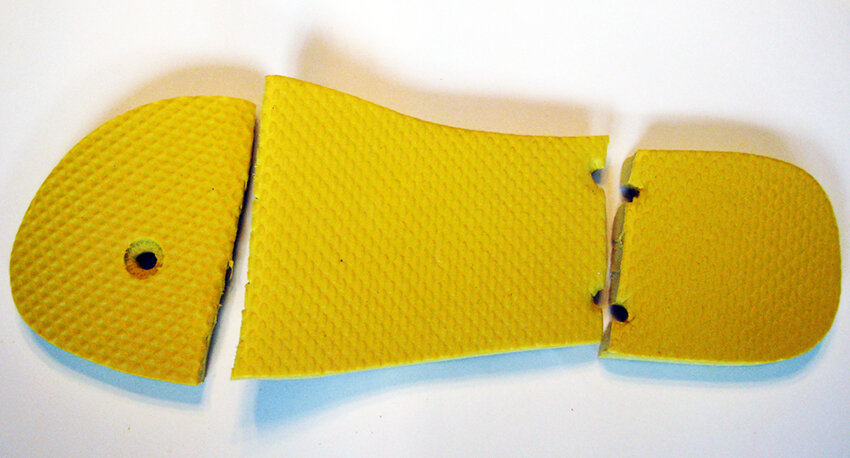
  2. To make the stamp, copy your coat of arms onto a sheet of craft foam. To make the backing, take your cardboard, foam backing from a flip-flop shoe, or wood and lay it on the table with the stamping side facing up.

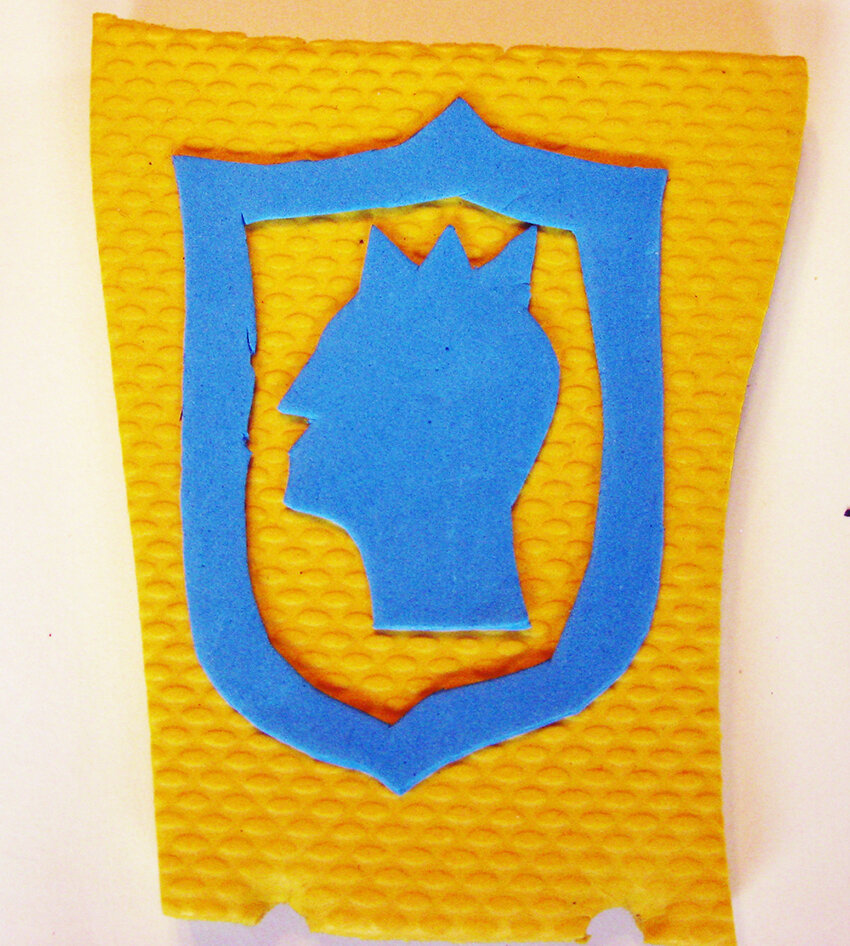
  3. Cut around the outside shape of your craft foam seal. Turn it over so the drawing on it is facing down. You do that because your stamp must be a mirror image of the final version. Place it on the backing, then trace around it to show where it will go.

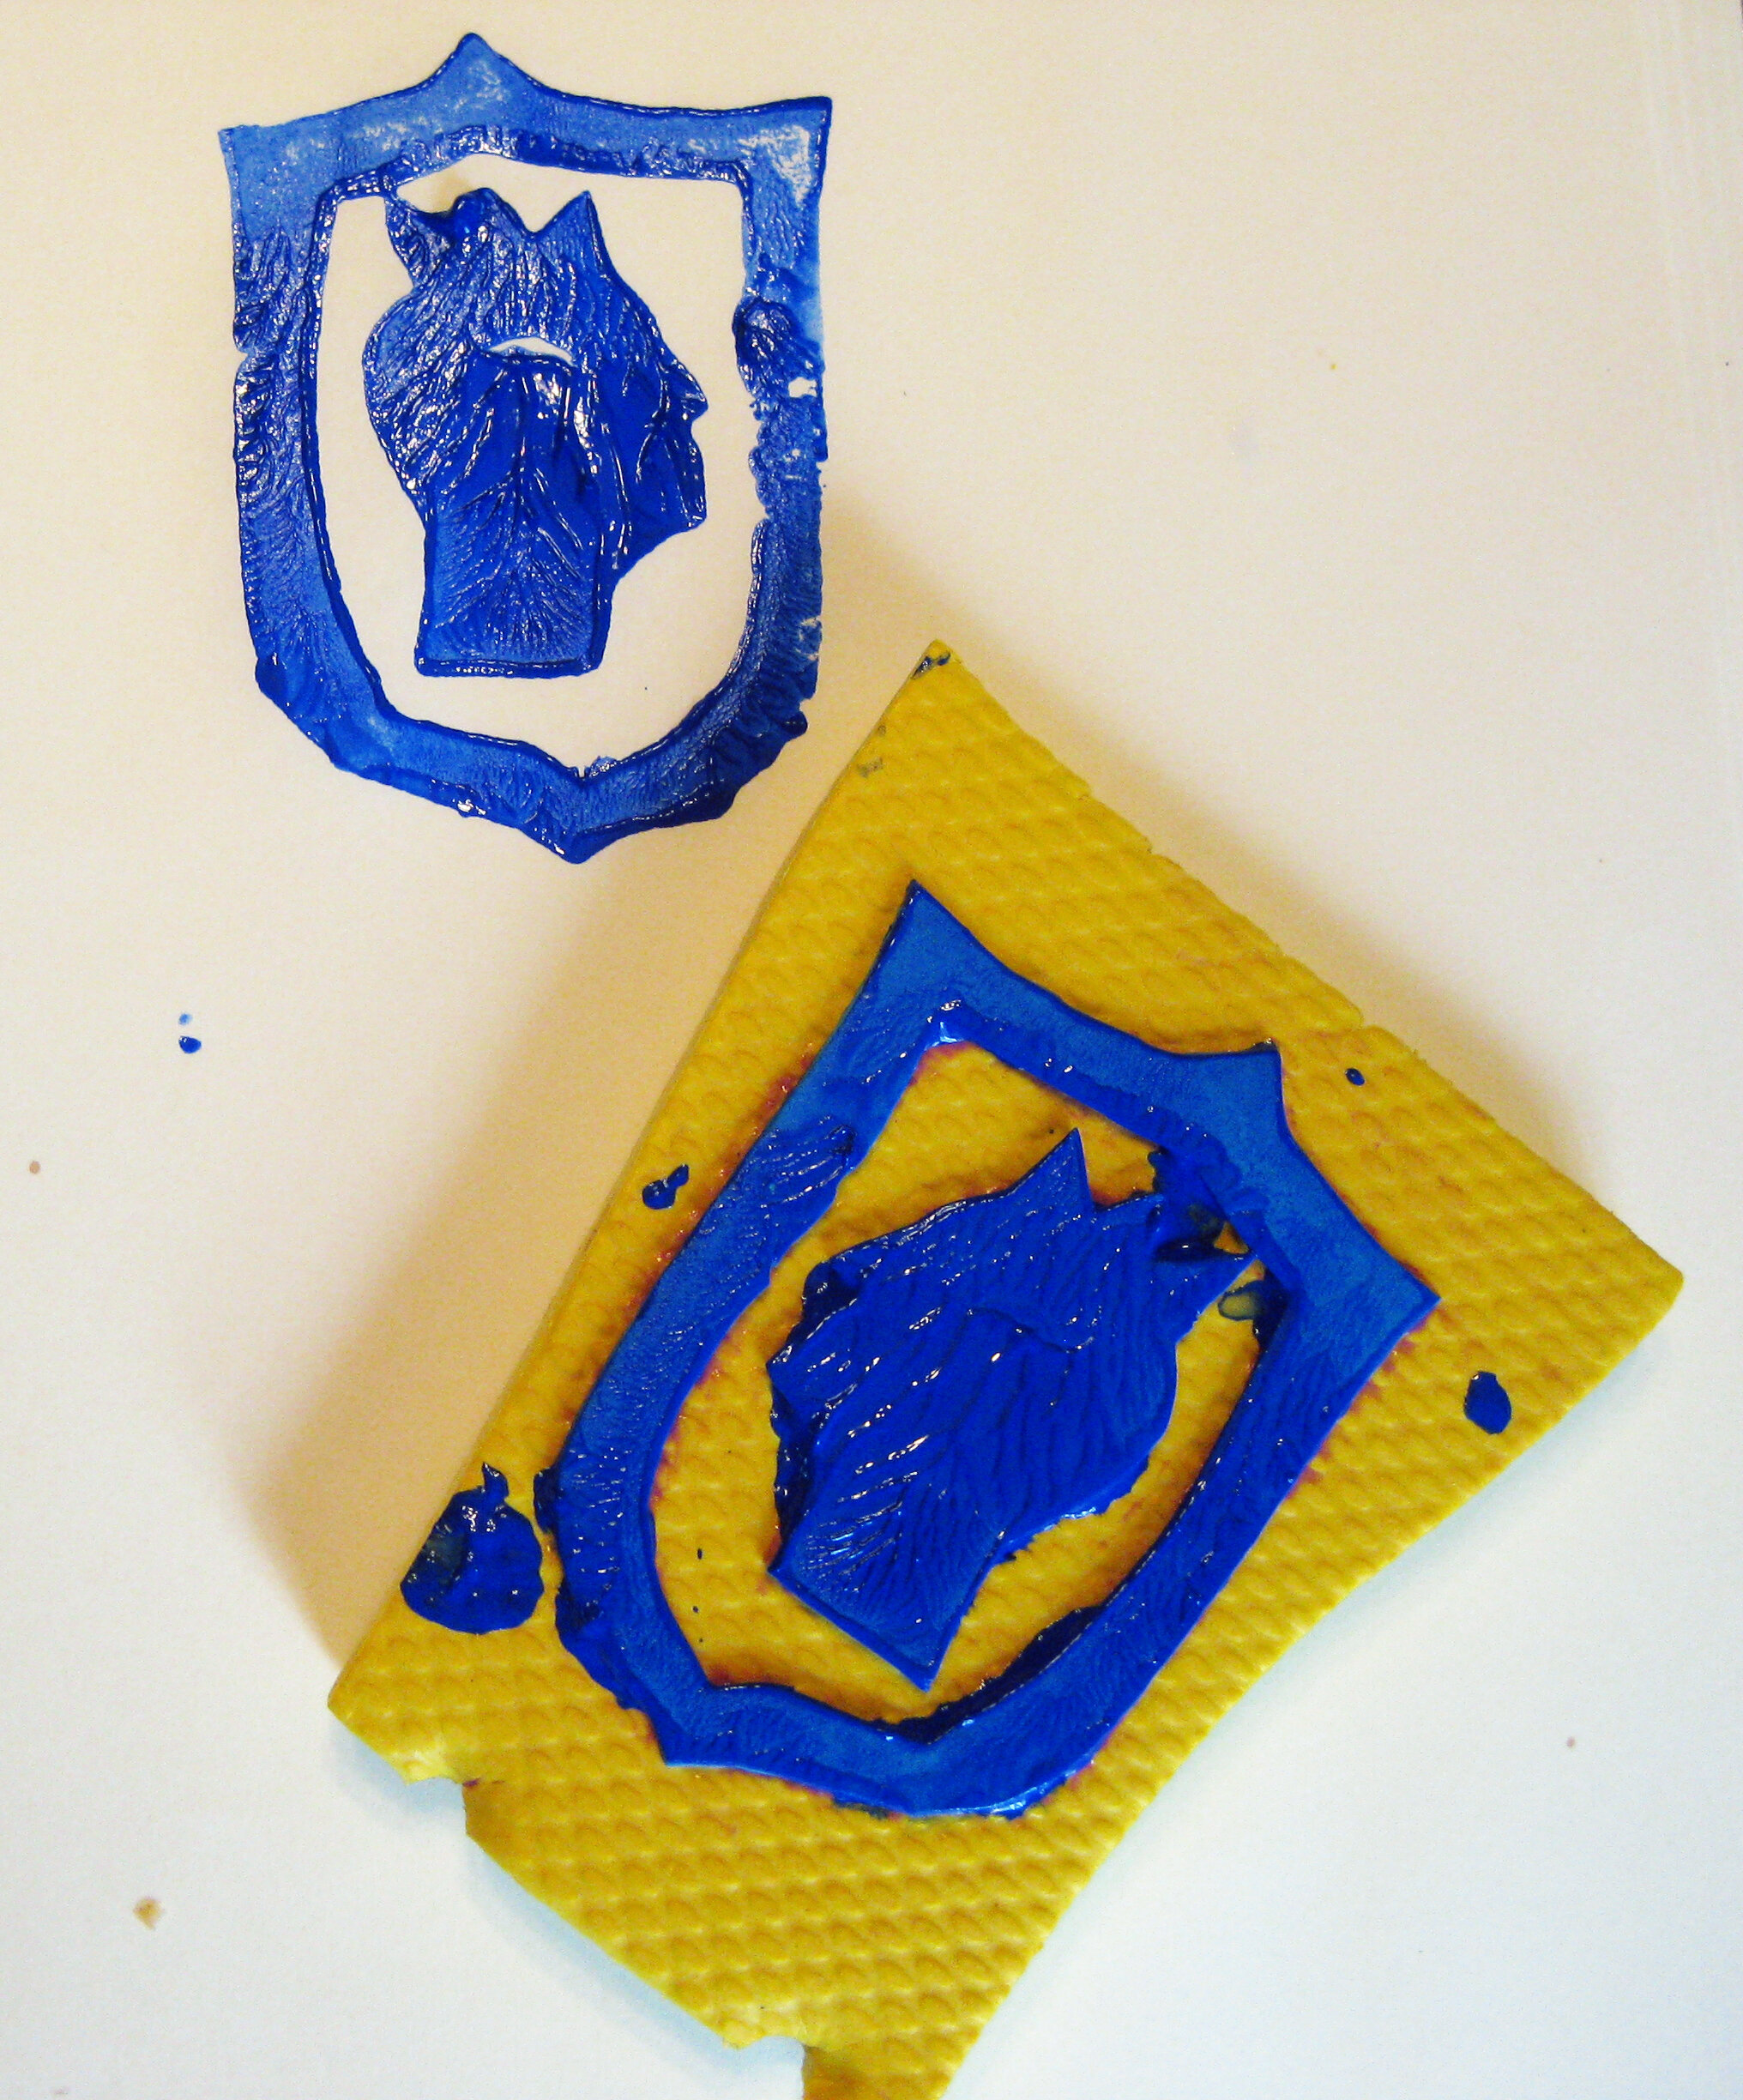
  4. Carefully cut out the symbols of your seal from the craft foam. Glue the outside shape onto the backing, again making sure that the side with the drawing is facing down onto the backing. Then glue the symbols inside, also facing down.

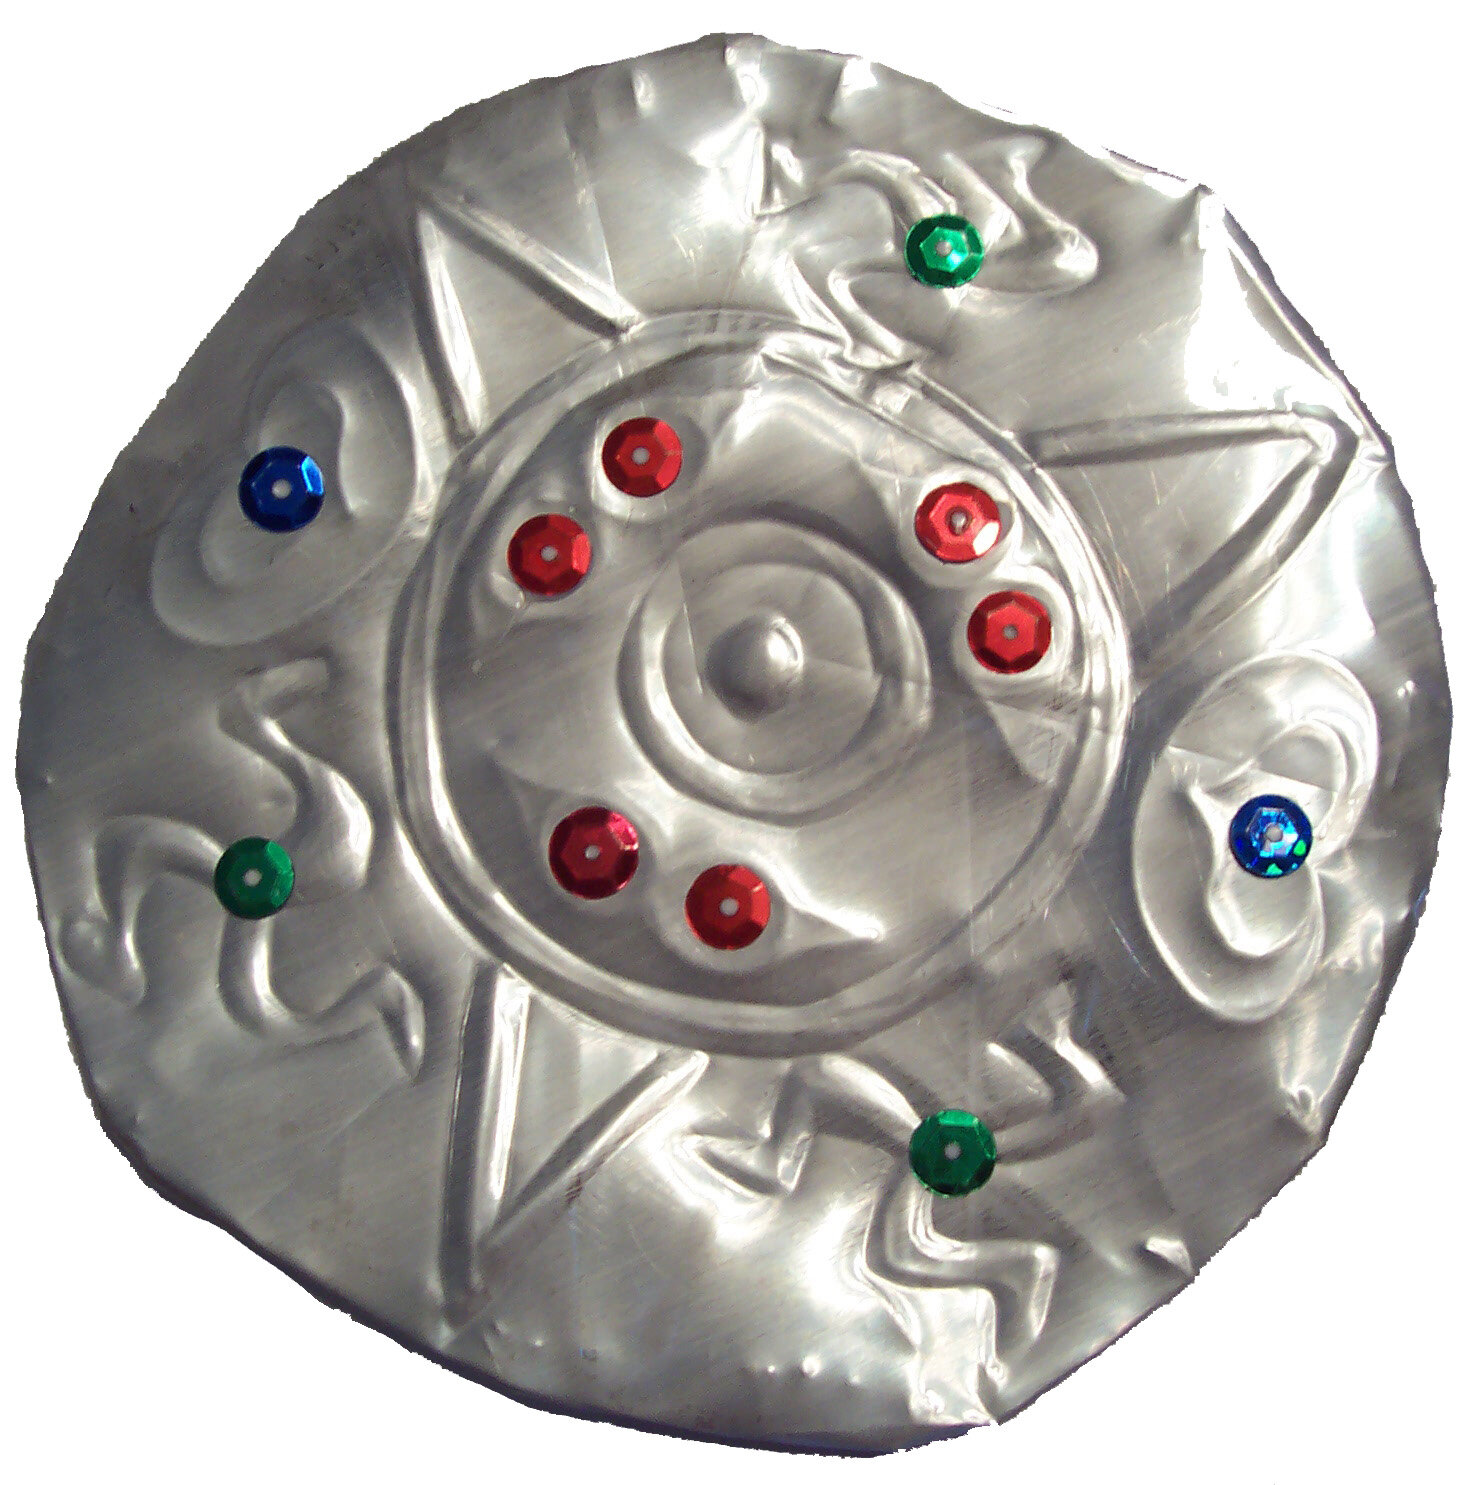
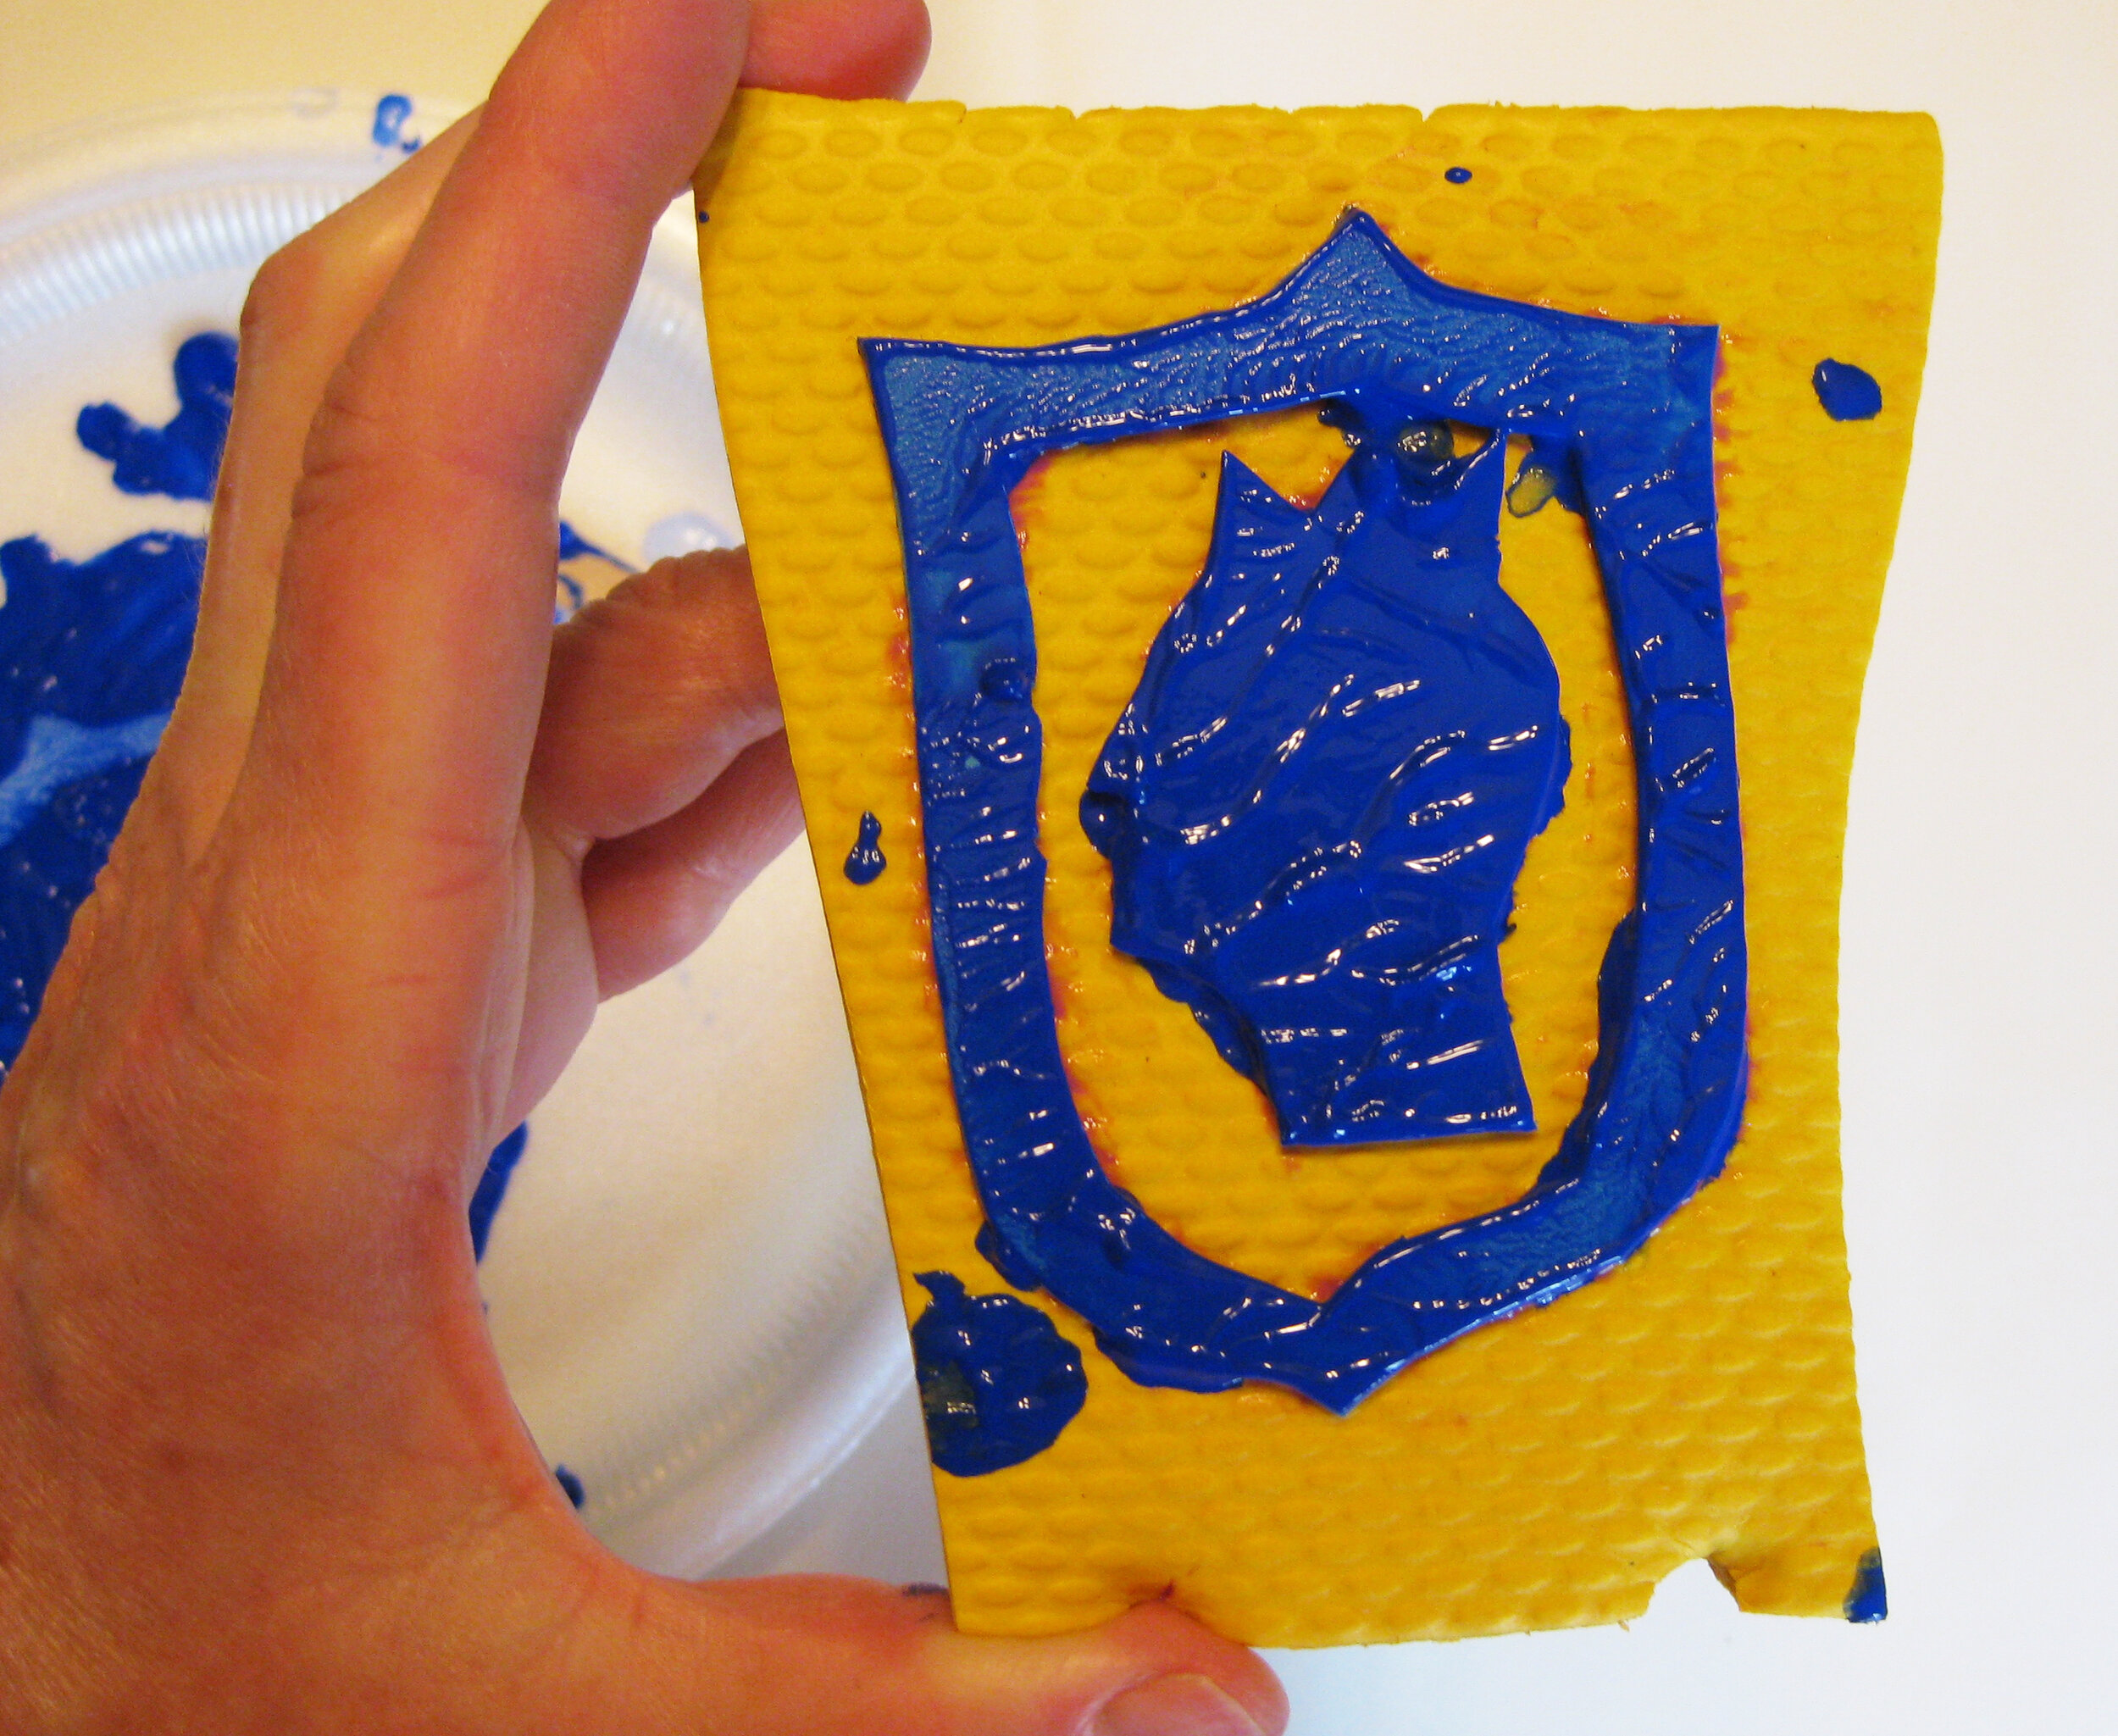
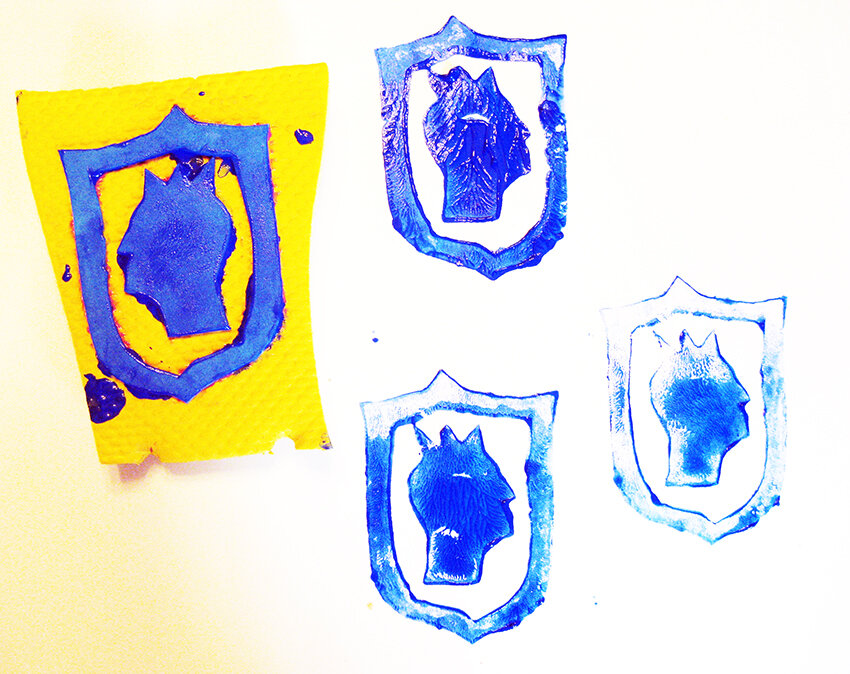
  5. When it’s dry, test your seal with a sheet of scrap paper before you put it on any important documents. Press it onto an inkpad or into a very small amount of paint poured onto a disposable plate. Then press it onto the scrap paper to see how it looks. If you want your seal to appear in different colors, you can carefully brush a thin coat of paint onto just one section or symbol at a time using the colors you would like for your coat of arms. You can also try swirling a few colors around on the plate, keeping them separate, for a multicolor effect.


This page may contain affiliate links. Thanks for helping me to keep producing great learning advice and activities for kids!


Crafts for Learning: Pie-Tin Celtic Jewelry

 
Celtic Shield Library.JPG
 

Welcome! This is the first in an on-going series of Crafts for Learning articles for kids, each with a hands-on project using everyday stuff like household supplies and recycled materials. You can find this project and more in my book Around the World Crafts.

Up until very recently, people in Britain would dig up sphagnum moss from swampy peat bogs to use as fuel. In 1983 in England, workers cutting peat moss in Lindow Moss bog discovered a body and called the police. The victim had been strangled, hit on the head, and stabbed. And the authorities had a likely suspect: a local man whose wife had disappeared 25 years earlier. When police told him of their find, the man confessed to his wife’s murder. So it was a surprise to all involved when experts declared that the body wasn’t the unlucky wife. In fact, it belonged to a man who had died nearly 2,000 years ago! What was the truth behind the mysterious bog body? The answer came through archeology.

Archeology is the study of past human cultures. Archeologists dig up artifacts, or things made by the people they’re studying. Then they scientifically analyze them. They try to figure out when the artifacts were made, how they were used, and how they ended up where they were found. Occasionally, as in the case of the Lindow Man, they also find remains of the people themselves. Radiocarbon dating told researchers that Lindow Man lived between AD 20 and 90. At that time a tribe of people known as the Celts occupied Britain.

Starting around 800 BC, the Celts were the most powerful tribe in northern Europe. This was the Iron Age, and metalwork was a specialty of people of the region. For decoration, they made elaborate brooches (pins), torcs (neck rings), and arm bands. For fighting, they made shields, helmets, and swords. They adorned them with designs featuring animal and human heads. Another popular pattern was the triskeles, a wheel made of three running human legs. (Three was a special number to the Celts). But most Celtic artifacts have been not found in homes, which were made of straw and mud that did not survive the centuries. Instead, like the Lindow Man, they were found in water.

Celtic arm band

The Celts did not have a written language of their own. But in AD 43, Roman armies invaded Britain. The invading Romans wrote about the Celtic priests, the Druids. The Druids worshipped gods and goddesses who were part of the natural world in their secret ceremonies. For instance, every winter solstice Druids would give out sprigs of mistletoe. These were hung over doorways as protection from evil. Heather was another sacred plant with connections to the spirit realm. Water was connected to the Otherworld. The Druids would place ceremonial offerings of valuable handicrafts in rivers, lakes and bogs. It was said they also made human sacrifices there.

As it happens, the sphagnum moss in peat bogs turn the swampy water to acid. The acid kills the bacteria that makes things rot. So instead of decomposing, Lindow Man’s soft body parts were preserved by the bogwater. His skin and organs became tough and rubbery. It was the same process that turns animal hides into leather. Lindow Man’s bones, clothes and shoes had dissolved. But archeologists found traces of his last meal in Lindow Man’s stomach. It consisted of bread cooked over a fire of heather branches, and a drink made of mistletoe pollen. For archeologists, the “triple” murder, the watery grave, and the sacred plants were all clues. They concluded that Lindow Man was the victim of human sacrifice.


You can make a replica of an Iron Age arm band or ceremonial shield covered with Celtic designs out of copper foil from the art store or even an aluminum baking pan. Wear it on your wrist or turn your shield into a pin to wear on your cloak!

Materials:

  • Scrap paper

  • Copper foil (30 mils thick) or aluminum foil pie tin or baking pan

  • Embossing tool with a rounded point (like a lift-erase pad drawing stick) or a spoon

  • Stack of scrap paper or cardboard, or sheet of craft foam to press on

  • Sequins or other decorative “jewels” (peel-and-stick or use adhesive dots to attach)

  • (Optional) Stick-on pin fastening

  1. To get ideas, look for Celtic designs on websites like the British Museum website and DK Books.

  2. Draw your shield or bracelet first on a piece of paper. Then draw a margin about ½ inch around the edge. This will be your pattern for cutting your copper or aluminum.

  3. Use scissors to cut the foil the same size as your pattern. Handle the metal carefully, as the edges may be sharp.

  4. Put your soft surface under your piece of foil with the BACK facing up. Fold the edges towards you and press down smoothly with your embossing tool or a spoon.

  5. On the back of the foil, use the embossing tool to draw your design. It will “pop out” on the front. Try using different pressures and angles with the tool to get different effects. To make the design stand out even more, turn the piece over and outline the design on the front.

  6. Add jewels or other decorations.

  7. Bend the bracelet to fit around your wrist, or attach a pin fastening to the back of your shield, near enough to the top so that the pin won’t tip forward when you’re wearing it.


This page may contain affiliate links. They add nothing to your cost, and help support this website. Another way to help me keep producing great STEAM content for kids is to buy my books. Thanks!