Outdoor Learning Activities


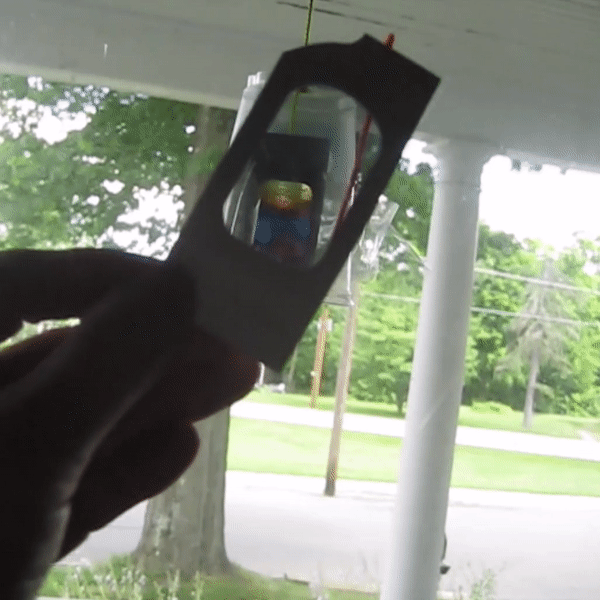
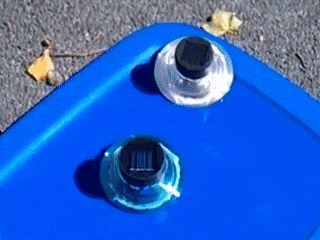
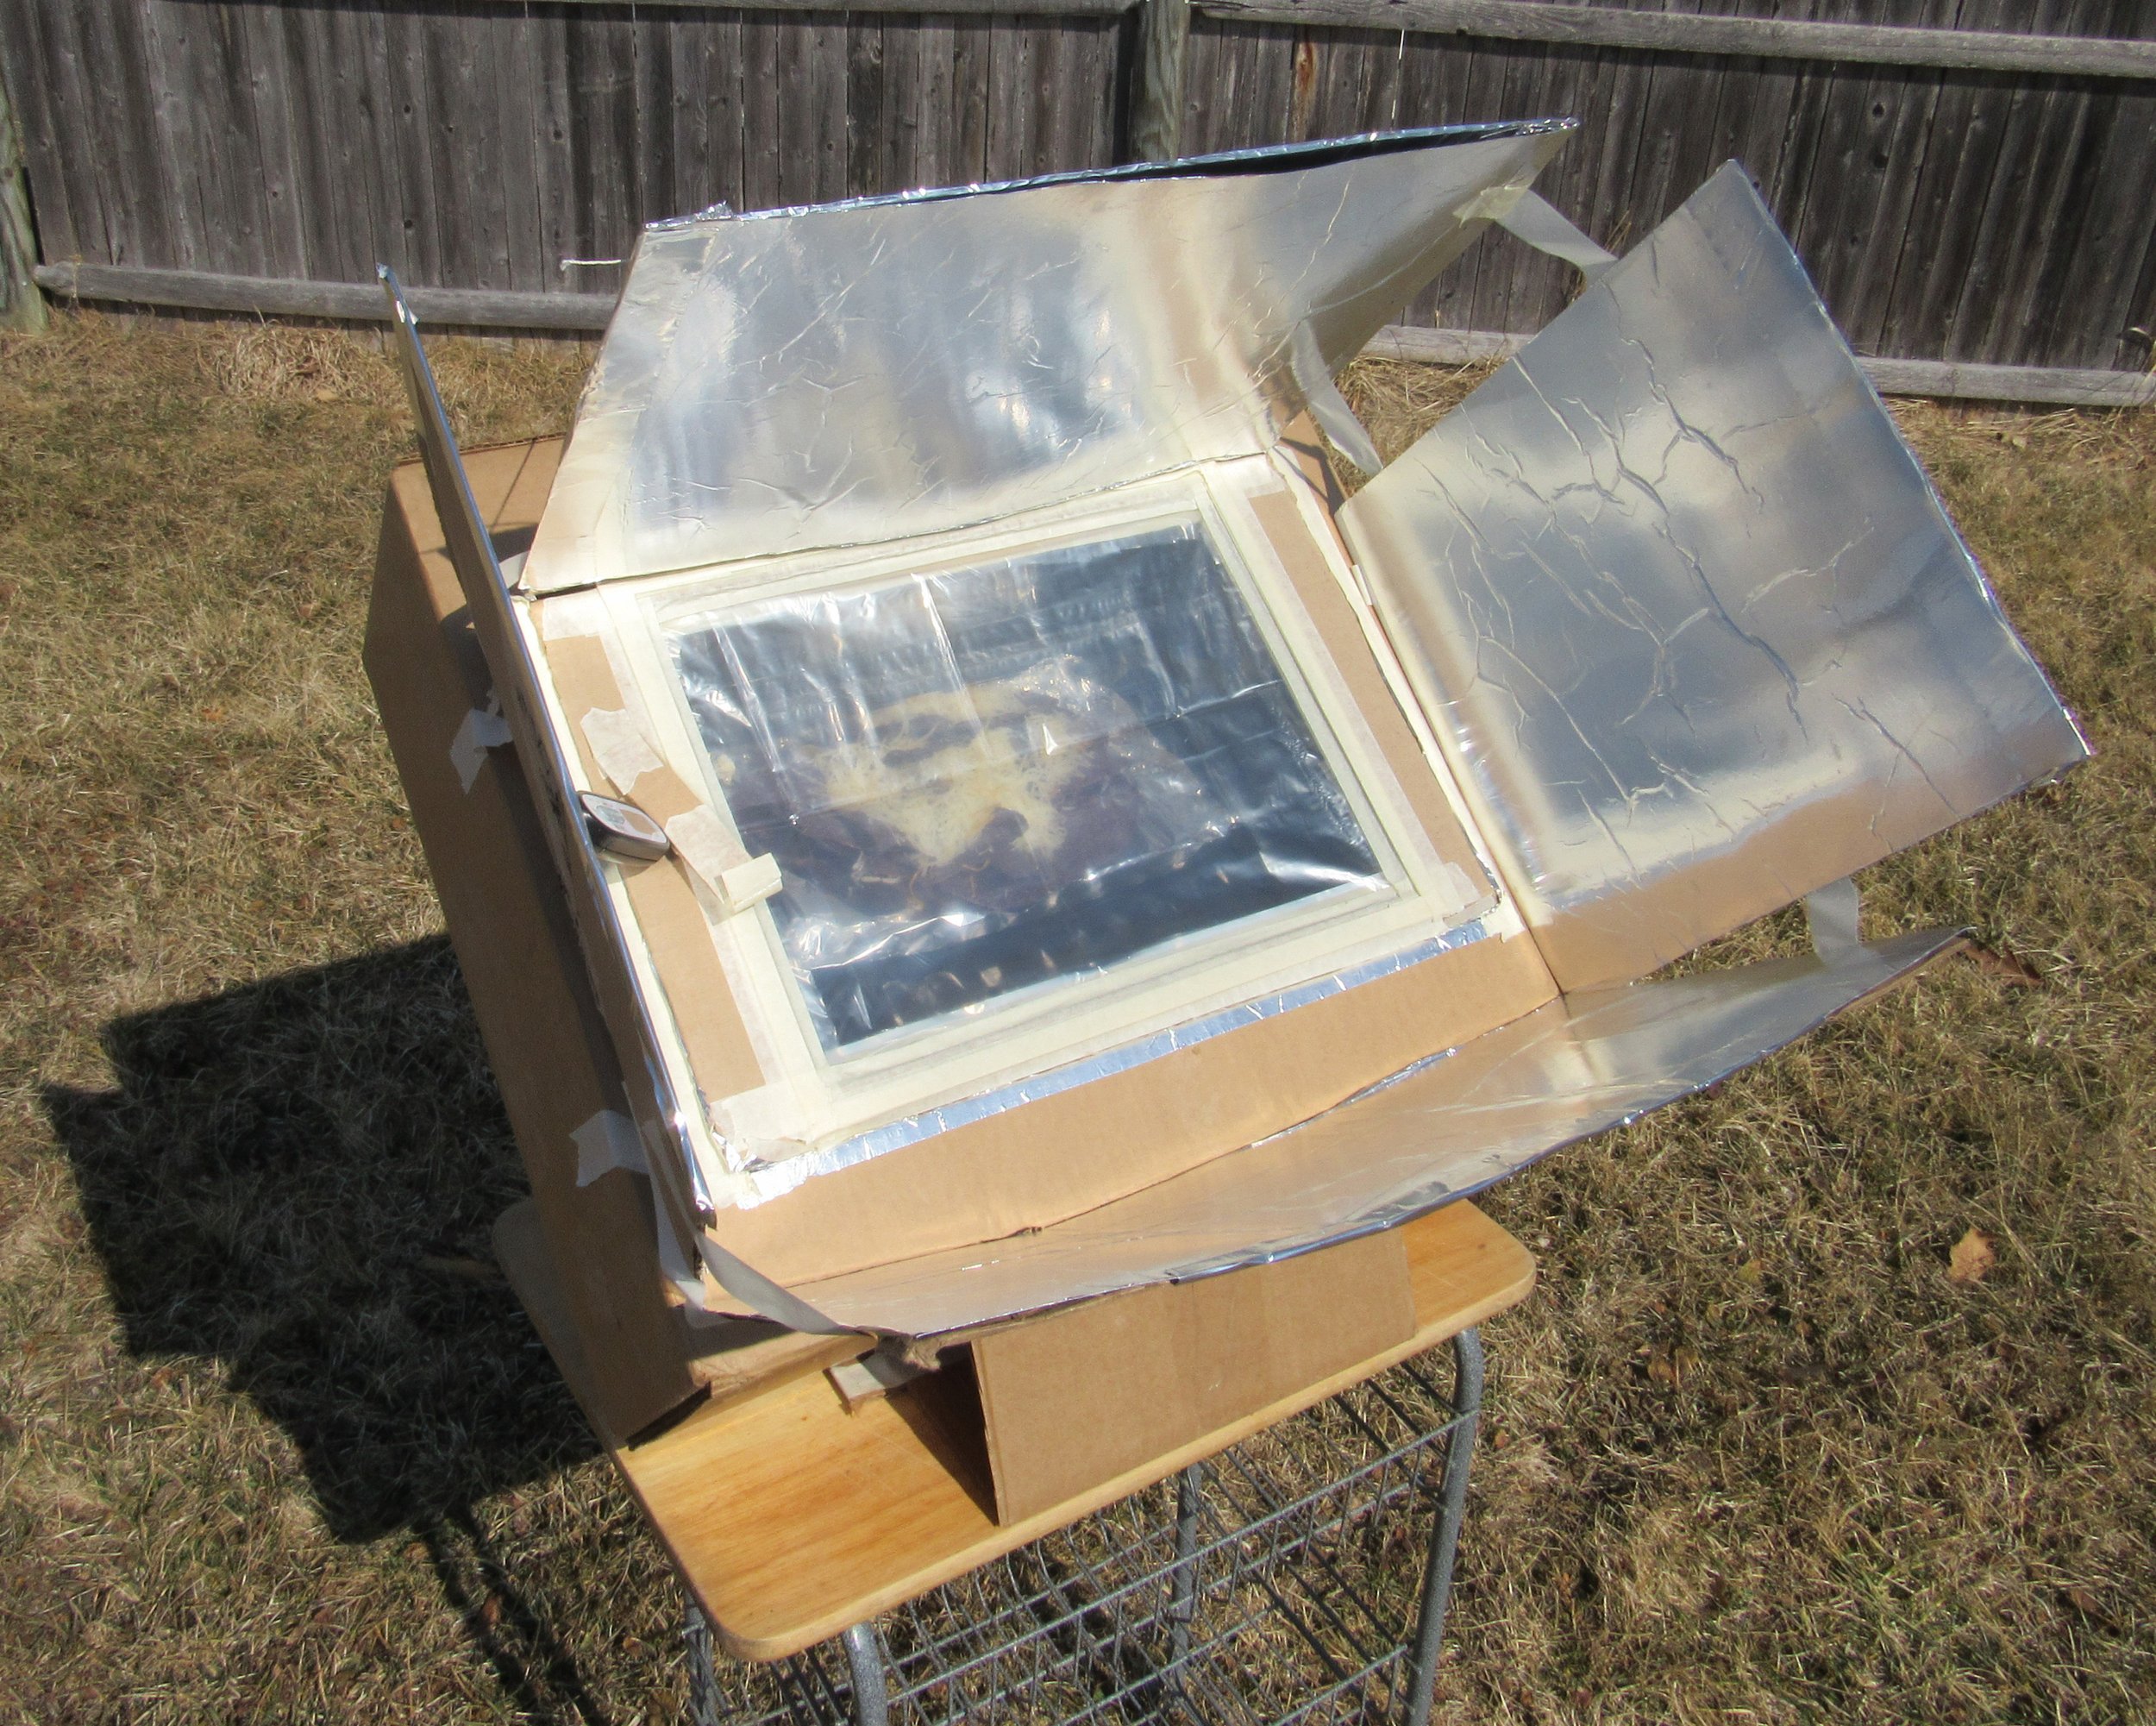
Comparing solar cooker designs


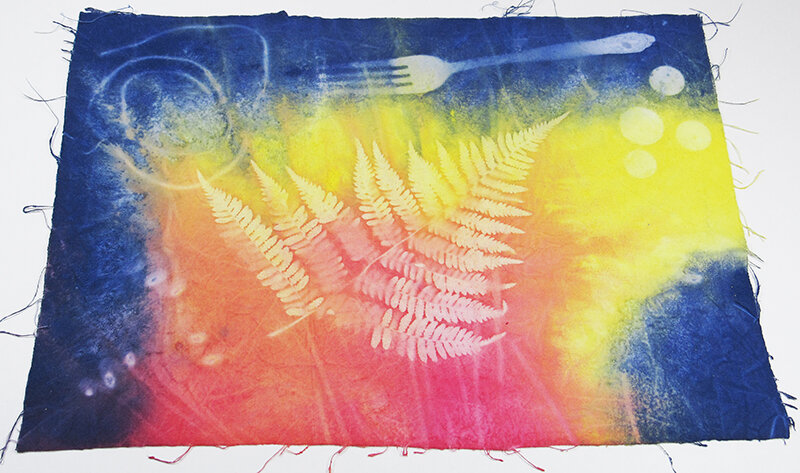
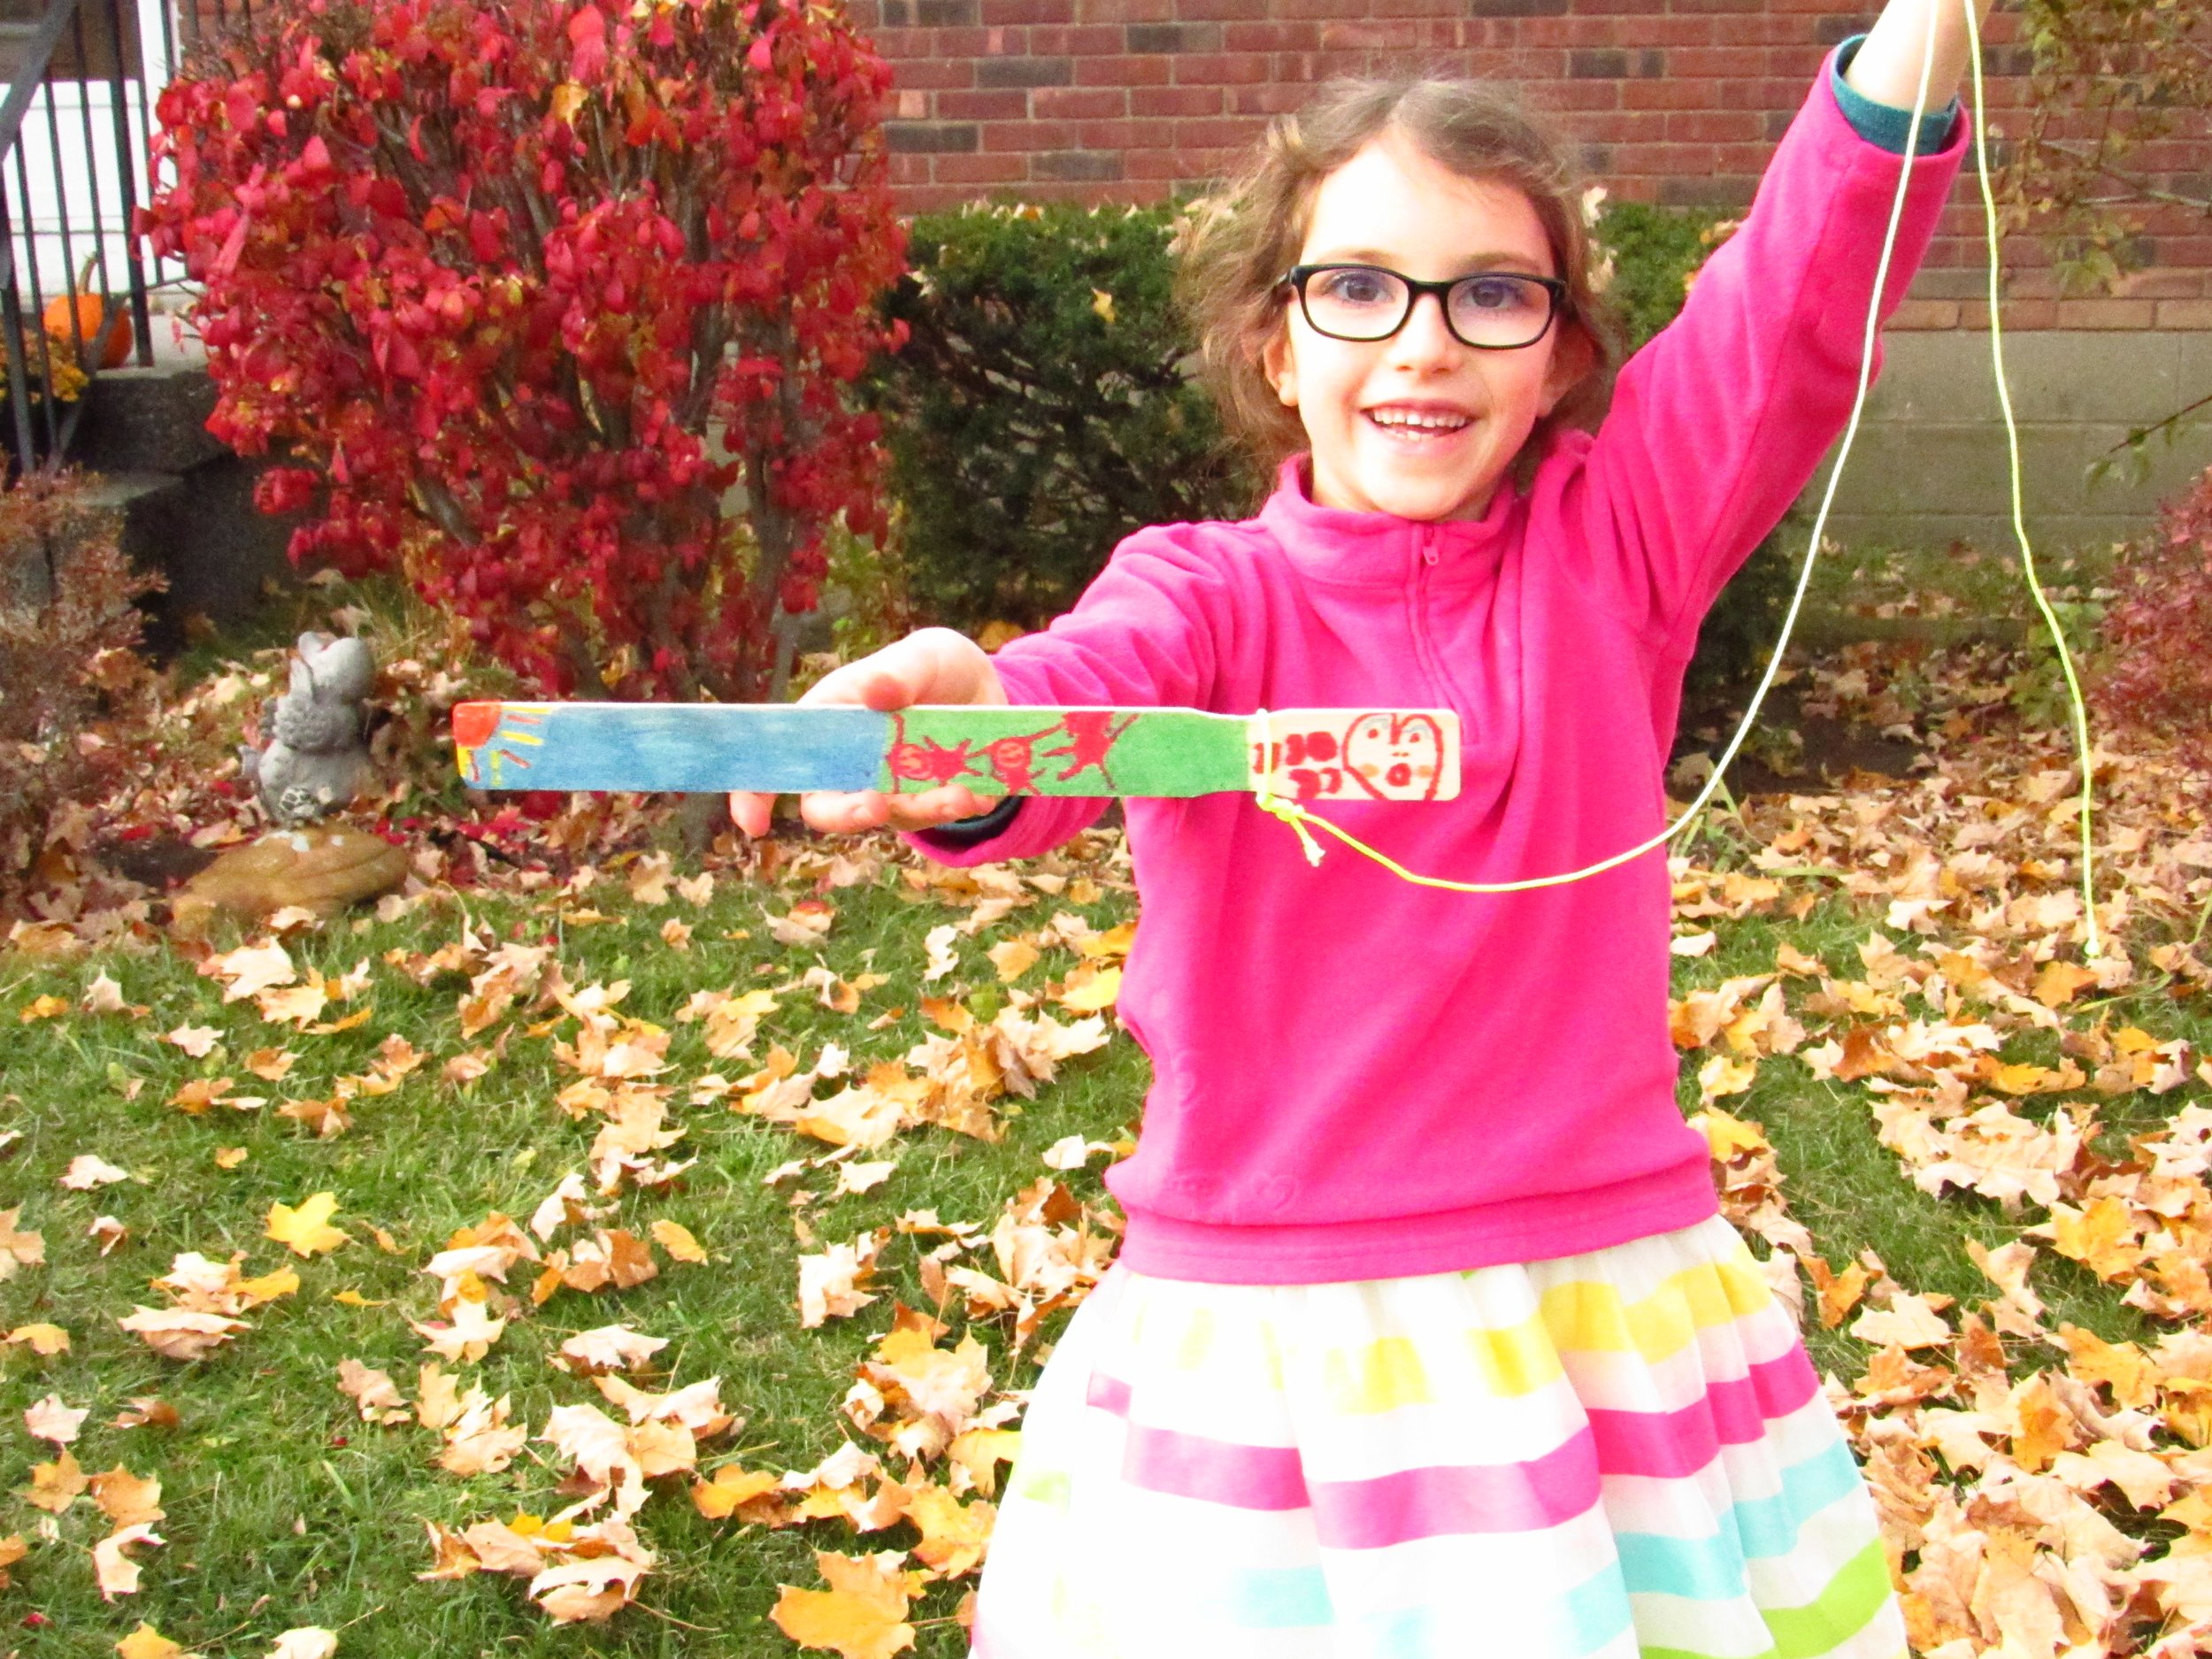
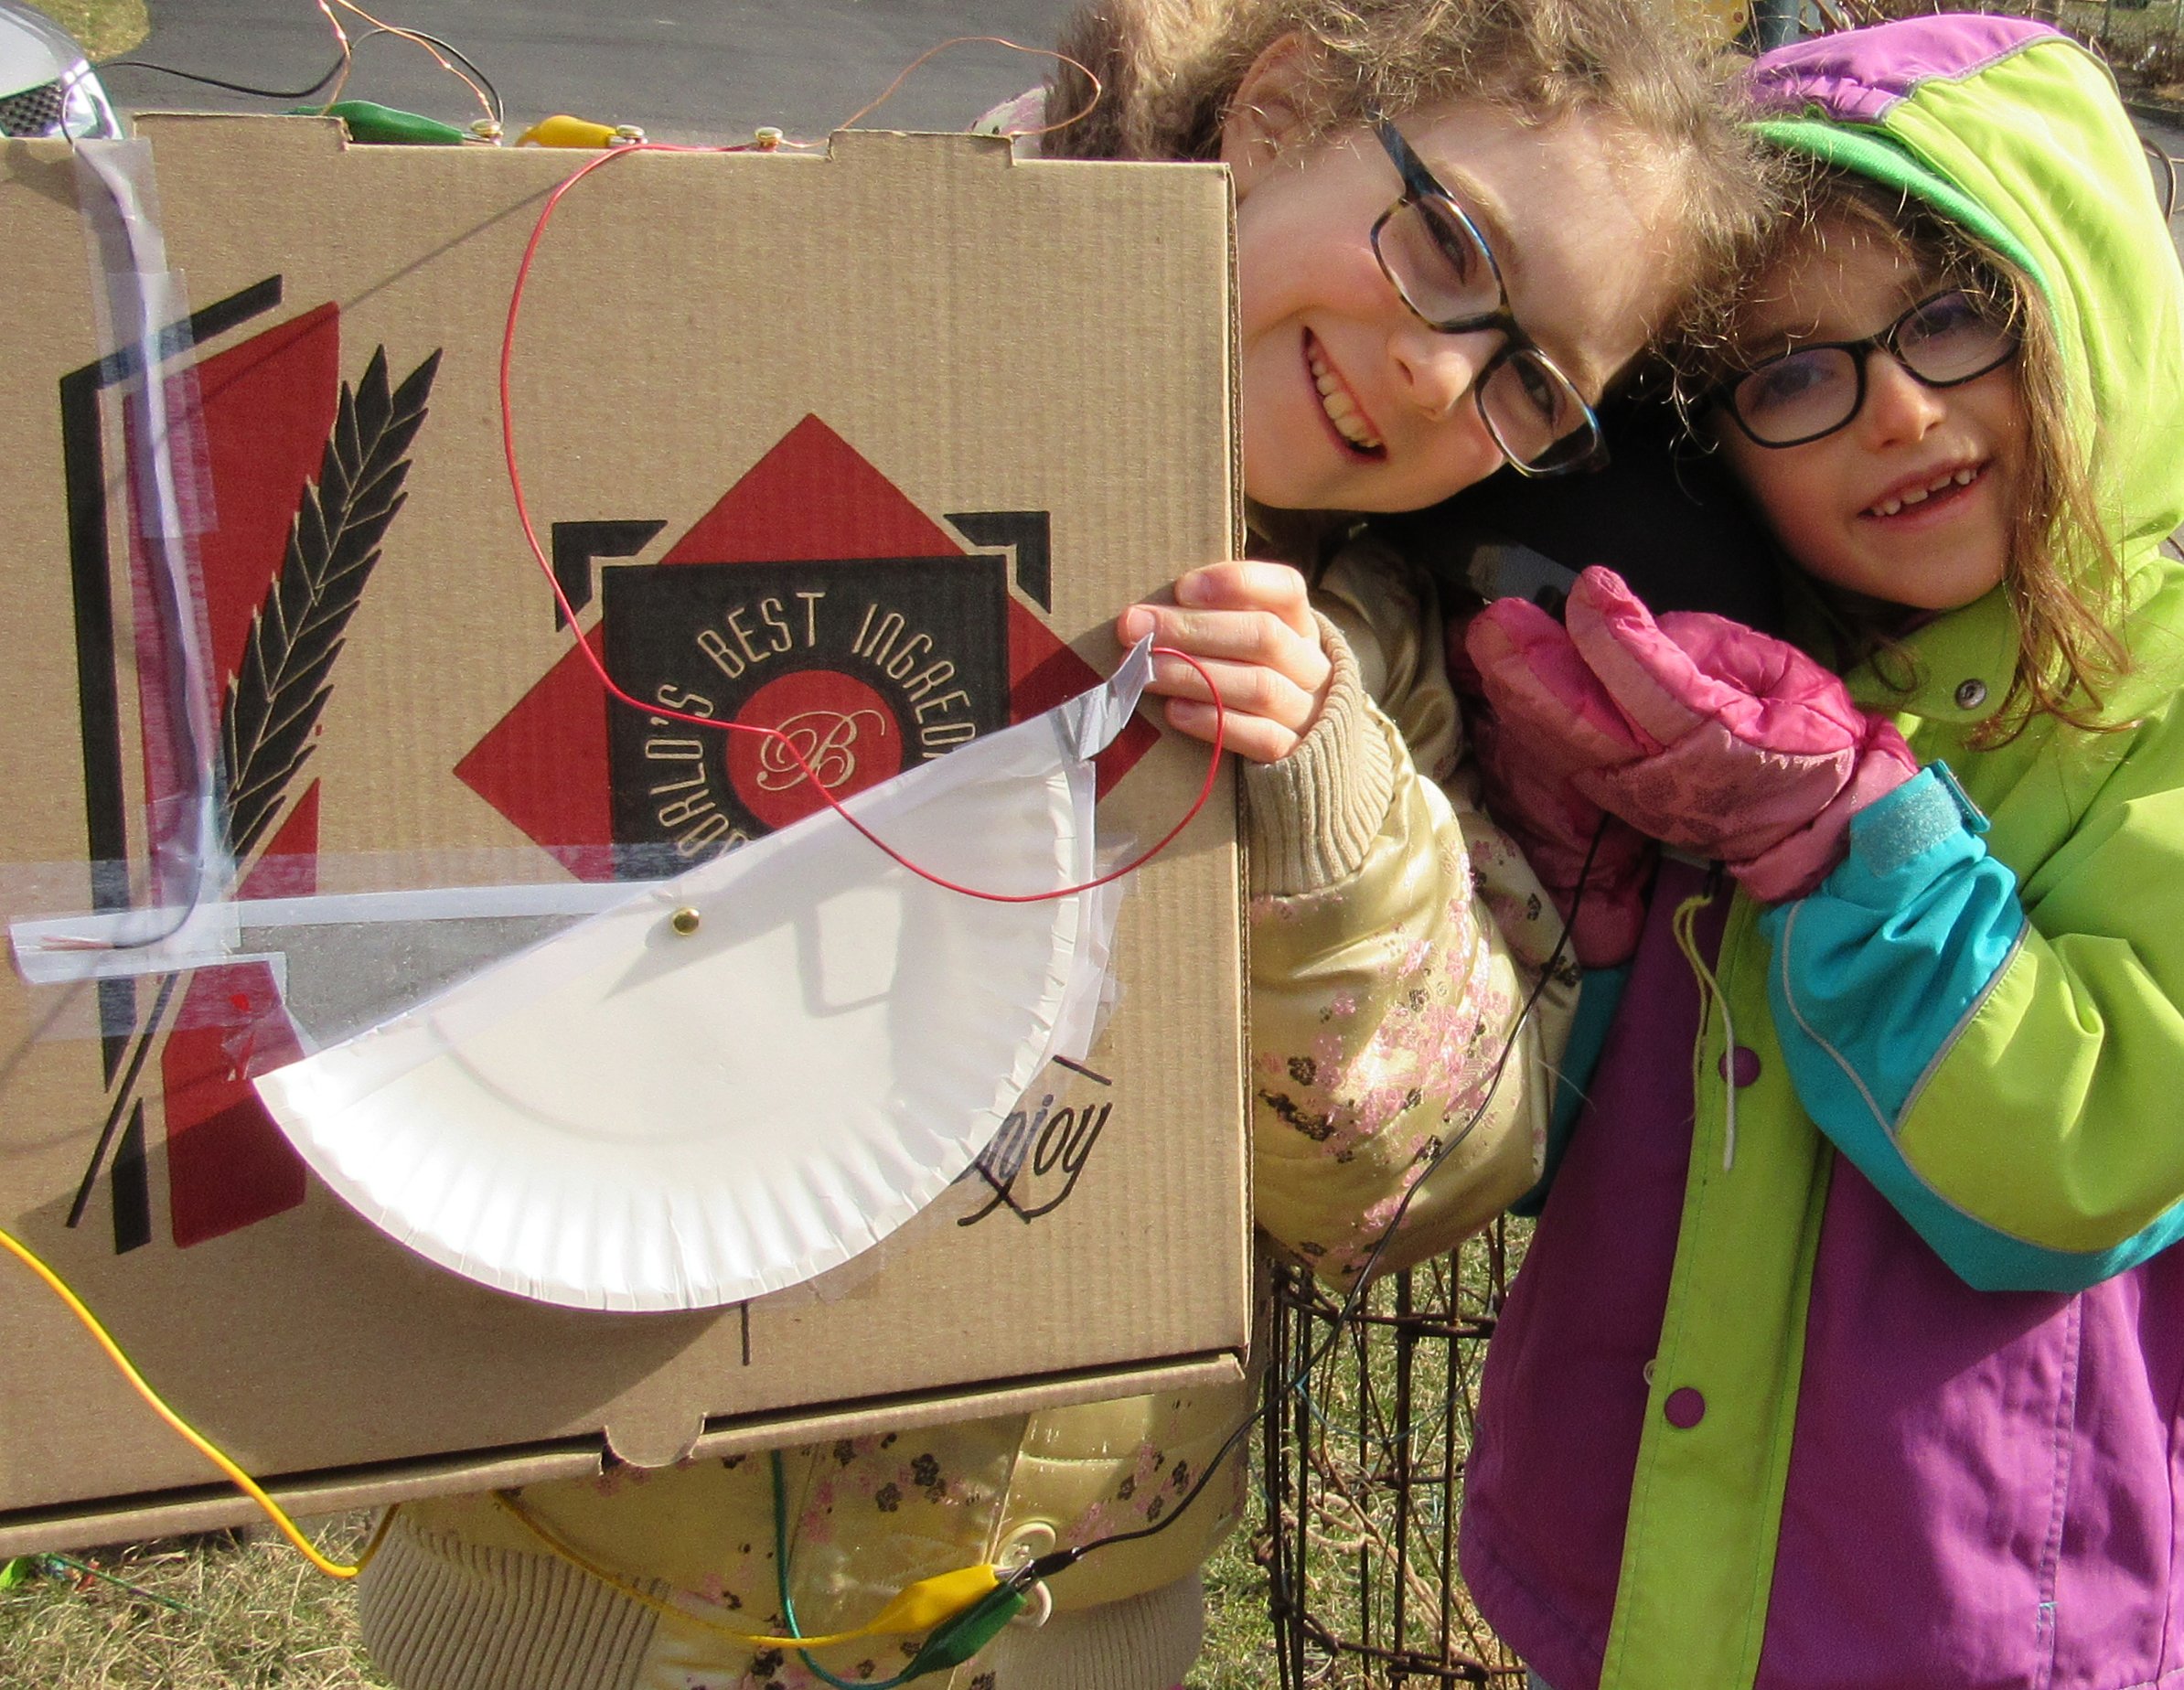
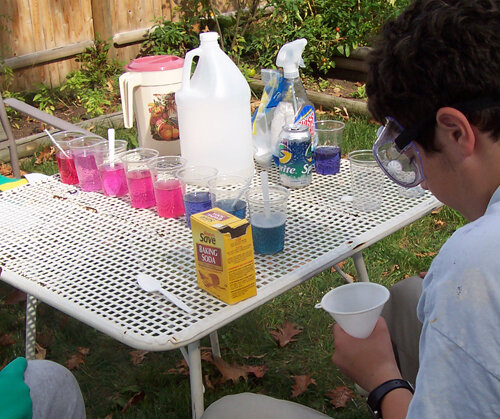
Looking for outdoor group activities with STEAM connections? Here are a few to try:


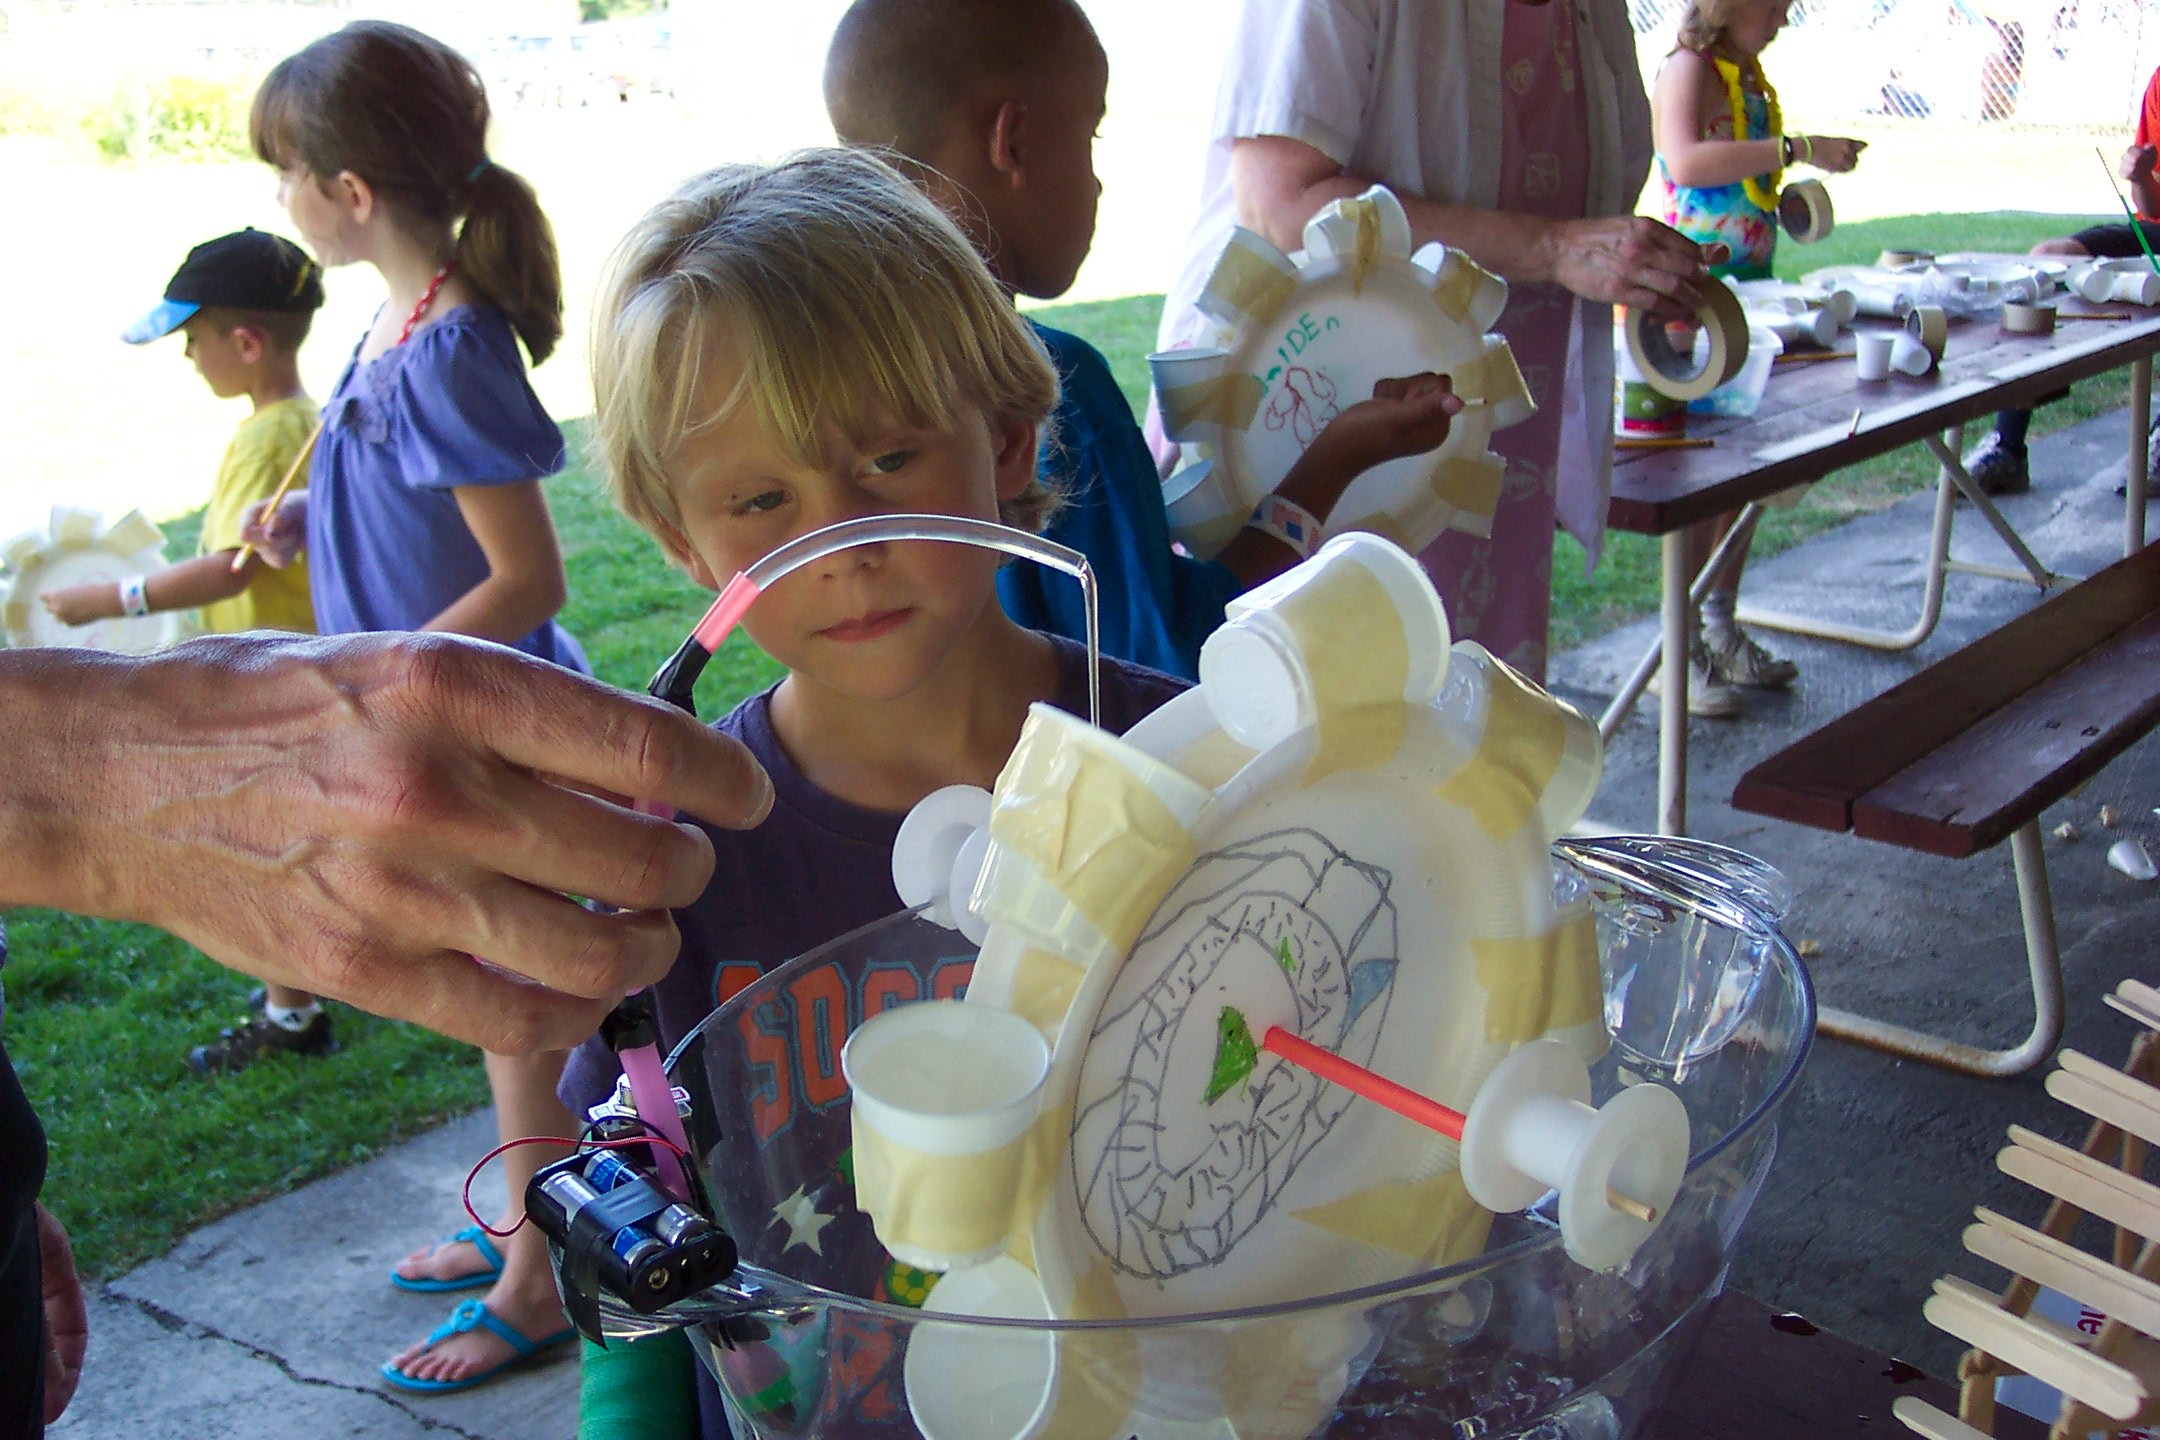
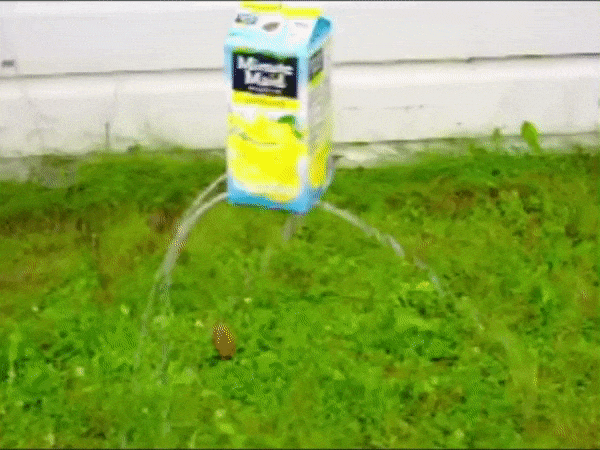
You can find the instructions and background for most of these projects in my books!

Upcoming Classes through SEA Homeschoolers


Join our DIY Homeschool community on Facebook!


This page may contain affiliate links. Thanks for helping me to keep producing great learning resources for students and families!


Nature Schooling: Do a Backyard Biodiversity Audit!

 
Shamrock Frog.JPG
 

How many different species live in your backyard or neighborhood? Can you name them all?

Inspired by a project called “The 100 Species Challenge,” we recorded, described, identified, and mapped 100 different species of living things within a few minutes’ walk of our home. Scientists call this a “biodiversity audit.” Charles Darwin conducted the first one ever in June 1855, when he counted the different types of flowers in the meadows around his home in Kent, England. His findings appeared in his book On the Origin of Species.

Our challenge served as our homeschooling biology study for the first half of the year. But in addition to learning about different types of plants, animals, fungi, and other living things, my kids sharpened their observational and documentation skills, practiced recording and analyzing data, and learned how to present what they learned so it was interesting and accessible to a general audience.

The steps laid out here take the activity from informal observation all the way up to science fair research project. You can do as many or as few of them as you like. And you can do it in one day, make it a daily or weekly activity, or come back to the same location in different seasons. In any form, it’s a great way to incorporate outdoor studies into your school or homeschool routine!


Materials

  • notebook and pen or pencil

  • your map (see instructions)

  • wildlife field guidebooks or apps

  • camera

  • binoculars, magnifying glass

  • sample bottles or bags for collecting microscopic life forms

  • field or desktop microscope


Instructions

Step 1: Choose an area to survey and make a map


Choose an area to search for different kinds of living things. These can include anything – birds, insects, wildflowers, weeds, vegetable gardens, fish ponds, mushrooms and slime mold. Pick an area (backyard, street, park, etc.) that has as many different kinds of environment as possible. A wild meadow will have more different species than a manicured lawn.

Backyard Survey Map.png

We actually left several patches of our backyard un-mowed for a year in order to create little mini-meadows to study. A family of rabbits moved into the meadows, and a mulberry tree grew to be three feet tall in the course of one summer. We also discovered a rare type of freshwater bryozoa in the nearby canal. You may be surprised at the number of large animals and unusual plants that live on the edge of your yard or neighborhood!

Once you choose the area to be surveyed, make a map showing landmarks such as buildings, sidewalks, trees, fences, gardens, streams and ponds. Divide the area on the map into sections and give each section a label. In the example above, we used letters to label each section of the yard, the deck, the patio, the garden, etc. In the full version of the map at the top of this chapter, you can see symbols for trees, an artificial fish pond, and a trampoline.


Step 2: Start recording species

Take a notebook, pen or pencil, and camera or phone to take photos, videos, and record sounds. If you have binoculars or a field microscope (or a microscope attachment for your phone camera), bring those as well.

Choose one section of your map to begin your survey. Walk carefully around the section and make a notation of every species you see. Give each species you see a number, and mark the number on the map to show where you found it. Completely cover one section of your area before moving on to the next.

If you don’t know the name of an organism, write down as much information as you can about it. You can make a list of things to describe or create a chart with categories like size, shape, and color. If you have a field guide to local wildlife with you, use it when you come across something you can’t identify.

 If you have a camera, be sure to take a photo of every species as well. Try to frame the picture with an uncluttered background so the species you’re focusing on stands out. If you don’t have a camera, draw a picture or diagram of the organism, labeling details for later.

Whether or not you have a field microscope or magnifying glass with you, you can take samples of water, soil, or vegetation, put them in bags or bottles, and bring them back to observe under controlled conditions.

If you do the survey on different days, be sure to include a description of the weather conditions and how the environment changed.

Step 3: Identify the species

If you are having trouble identifying a species, and you can’t find it in your field guide, use your photos and/or drawings and written description to try to identify it. There are many searchable websites that list different species by description, as well as apps that let you upload an image for identification. You can also contact local wildlife experts and biologists for help. Try a nearby college or your state environmental department.

Spider.jpg

Once you have identified a species, do some research to find out more about it. Add this information to your notes of your observations. Check to see if your observations are typical or unusual for that species.

Step 4: Pull your data together

When you have gathered all your data, you need to arrange it in a form that you and others can use. If you have made handwritten notes, copy them over neatly or type them into a computer. Pick out the best photos of each species, and crop it to get the best view.

Decide how to you want to organize your information. If you enter the data into a computer spreadsheet like Excel, for example, you can easily figure out how many birds you found by the pond or how many insects by the rose bushes. Or make your map into an infographic, using color coding and symbols (for instance, a symbol of a ladybug wherever you found an insect).

You should also think about how you want to present your data to others. Suggestions include creating a large version of your map, with details about each species along the side. You can also print out your descriptions and photos in book form, post them on a website or blog, or create a slideshow with music and narration.

Step 5: Analyze your data

Red SquirrelJPG.jpg

Look at your observations to see what patterns emerge. Were there more of one kind of species than another? What kinds of places had the most diversity? Did you discover any rare or unusual species? What did you notice about the way the species interacted with each other or the environment?

If you made a hypothesis about what kind of species you would find, where they would live, or what time of day or season you would find them, see whether your hypothesis was proven by the data.


This page may contain affiliate links. Thanks for helping me to keep producing great learning advice and activities for kids!